

Introduction
When you have completed replacing the four Bed Strain Gauges, the wiki says go to the screen and tap and hold the Device info Tab at the top for around 5–7 seconds.
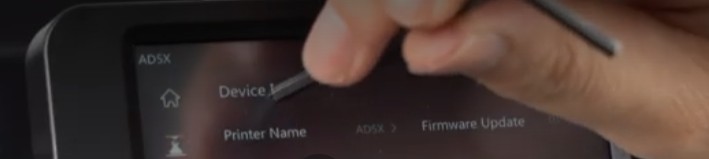
You will then see the hidden menu screen.
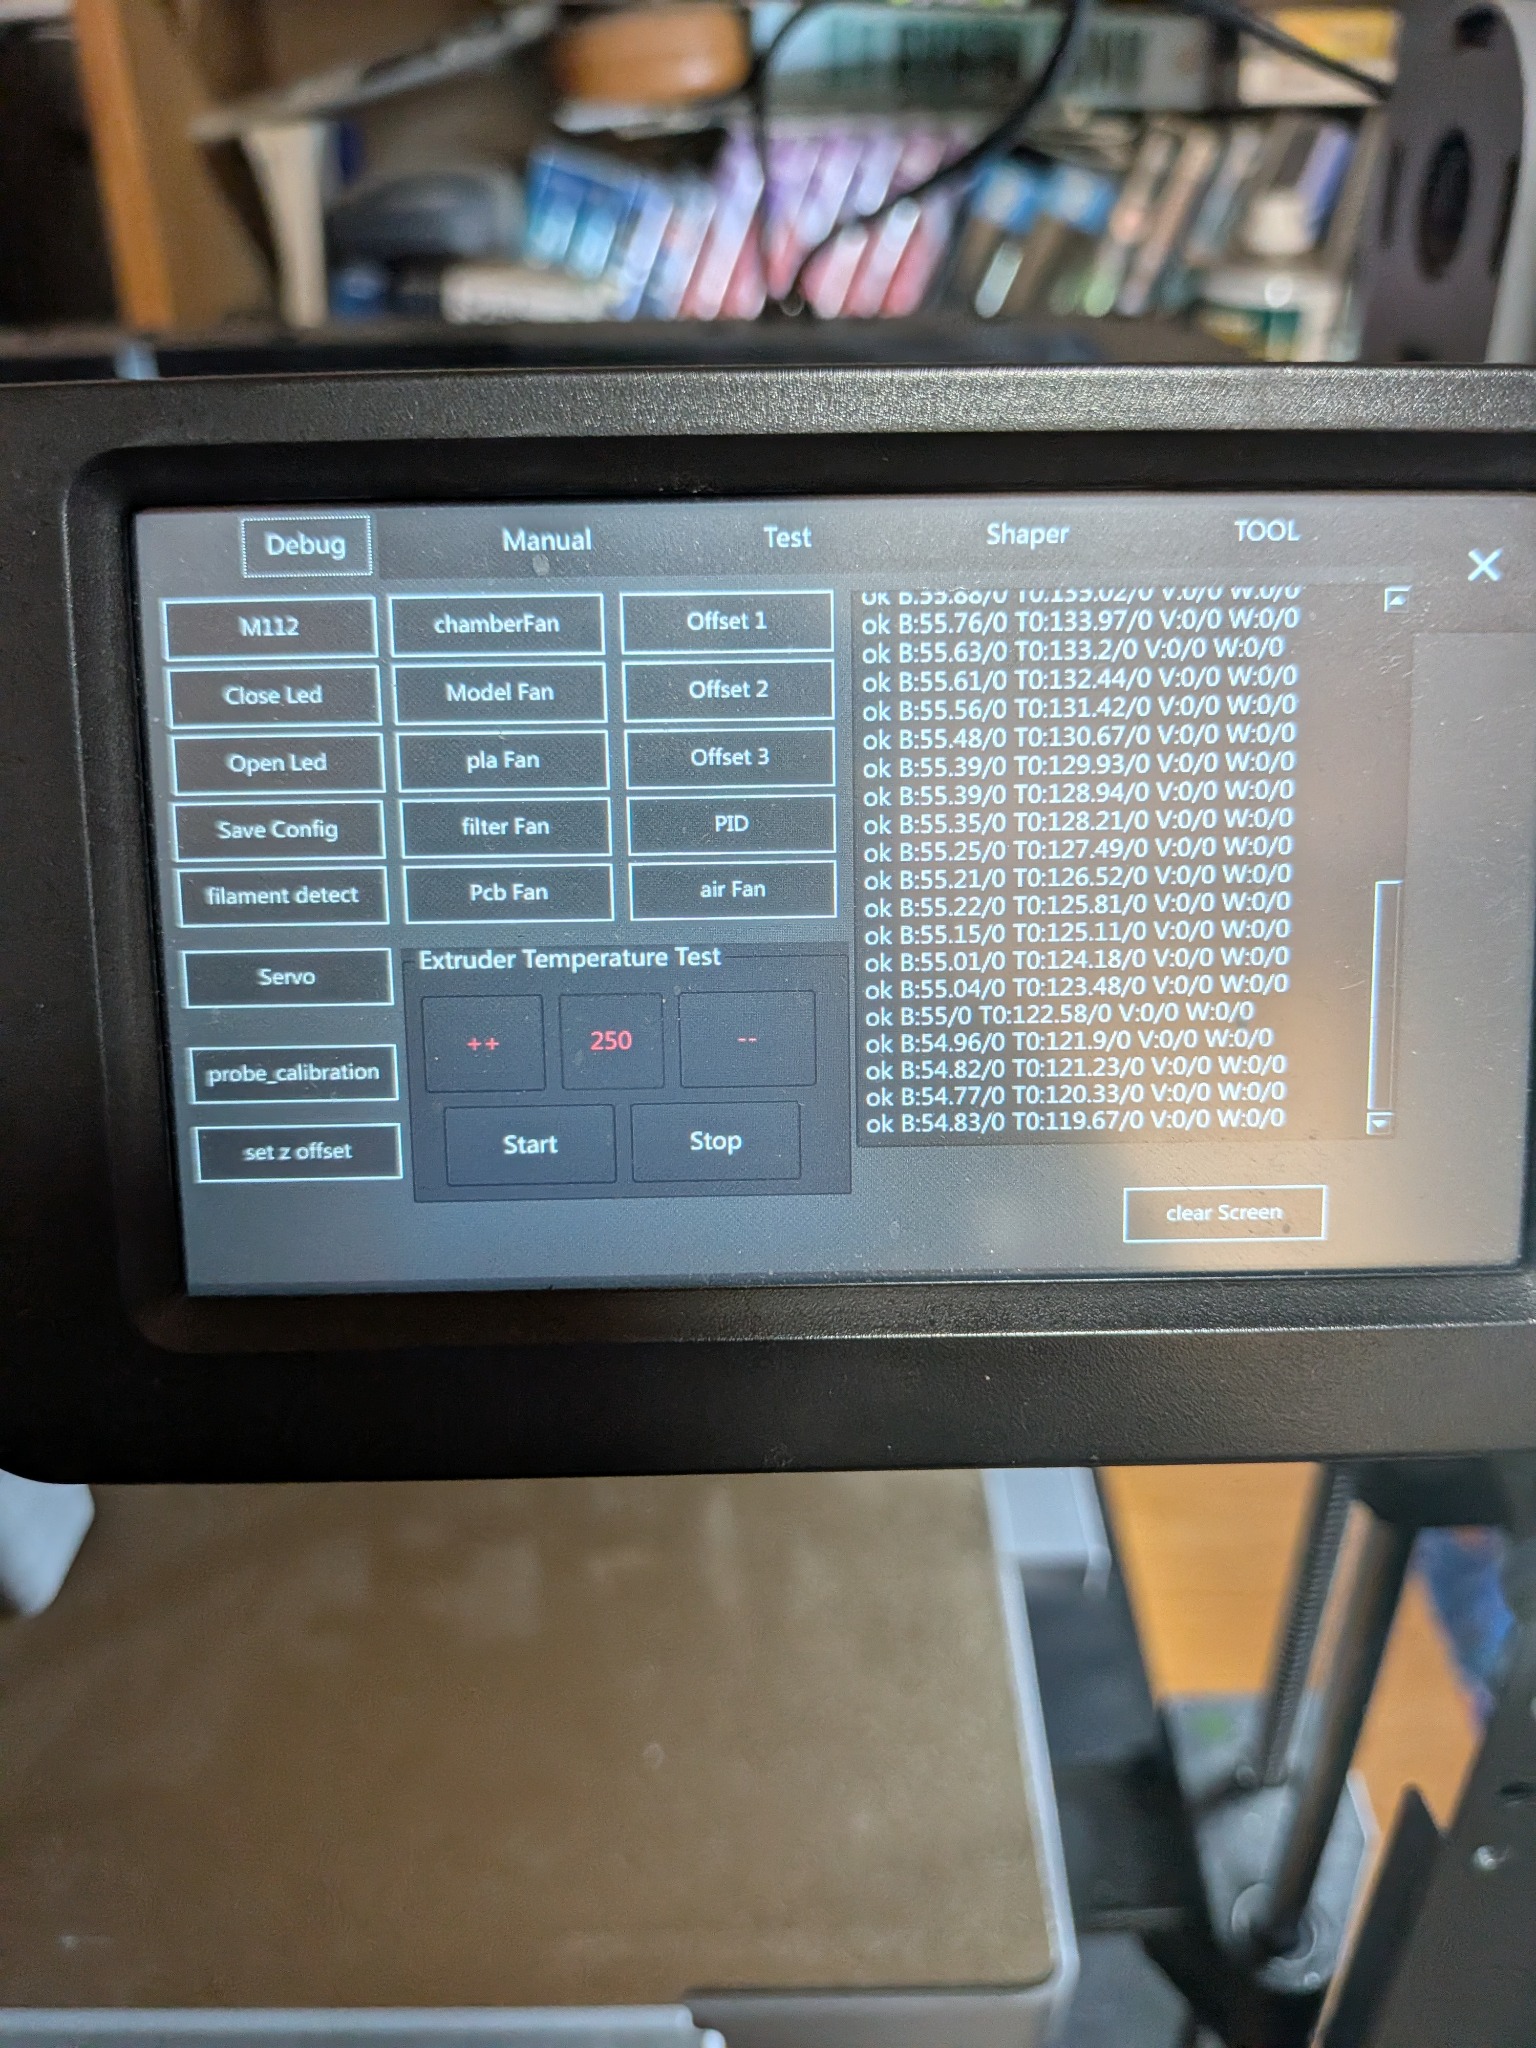
Then exit without clicking on anything using the X in the top right and go back into the dev menu and go to page 3 and select Sensor Level.
If you cannot find it, return to the Device Info screen.
Go back into the device screen again and tap and hold as before, but this time inside the Hidden Menu Screen (above picture) look at the top menu and select TOOL button, this will then take you to the selection screen (all in Chinese).
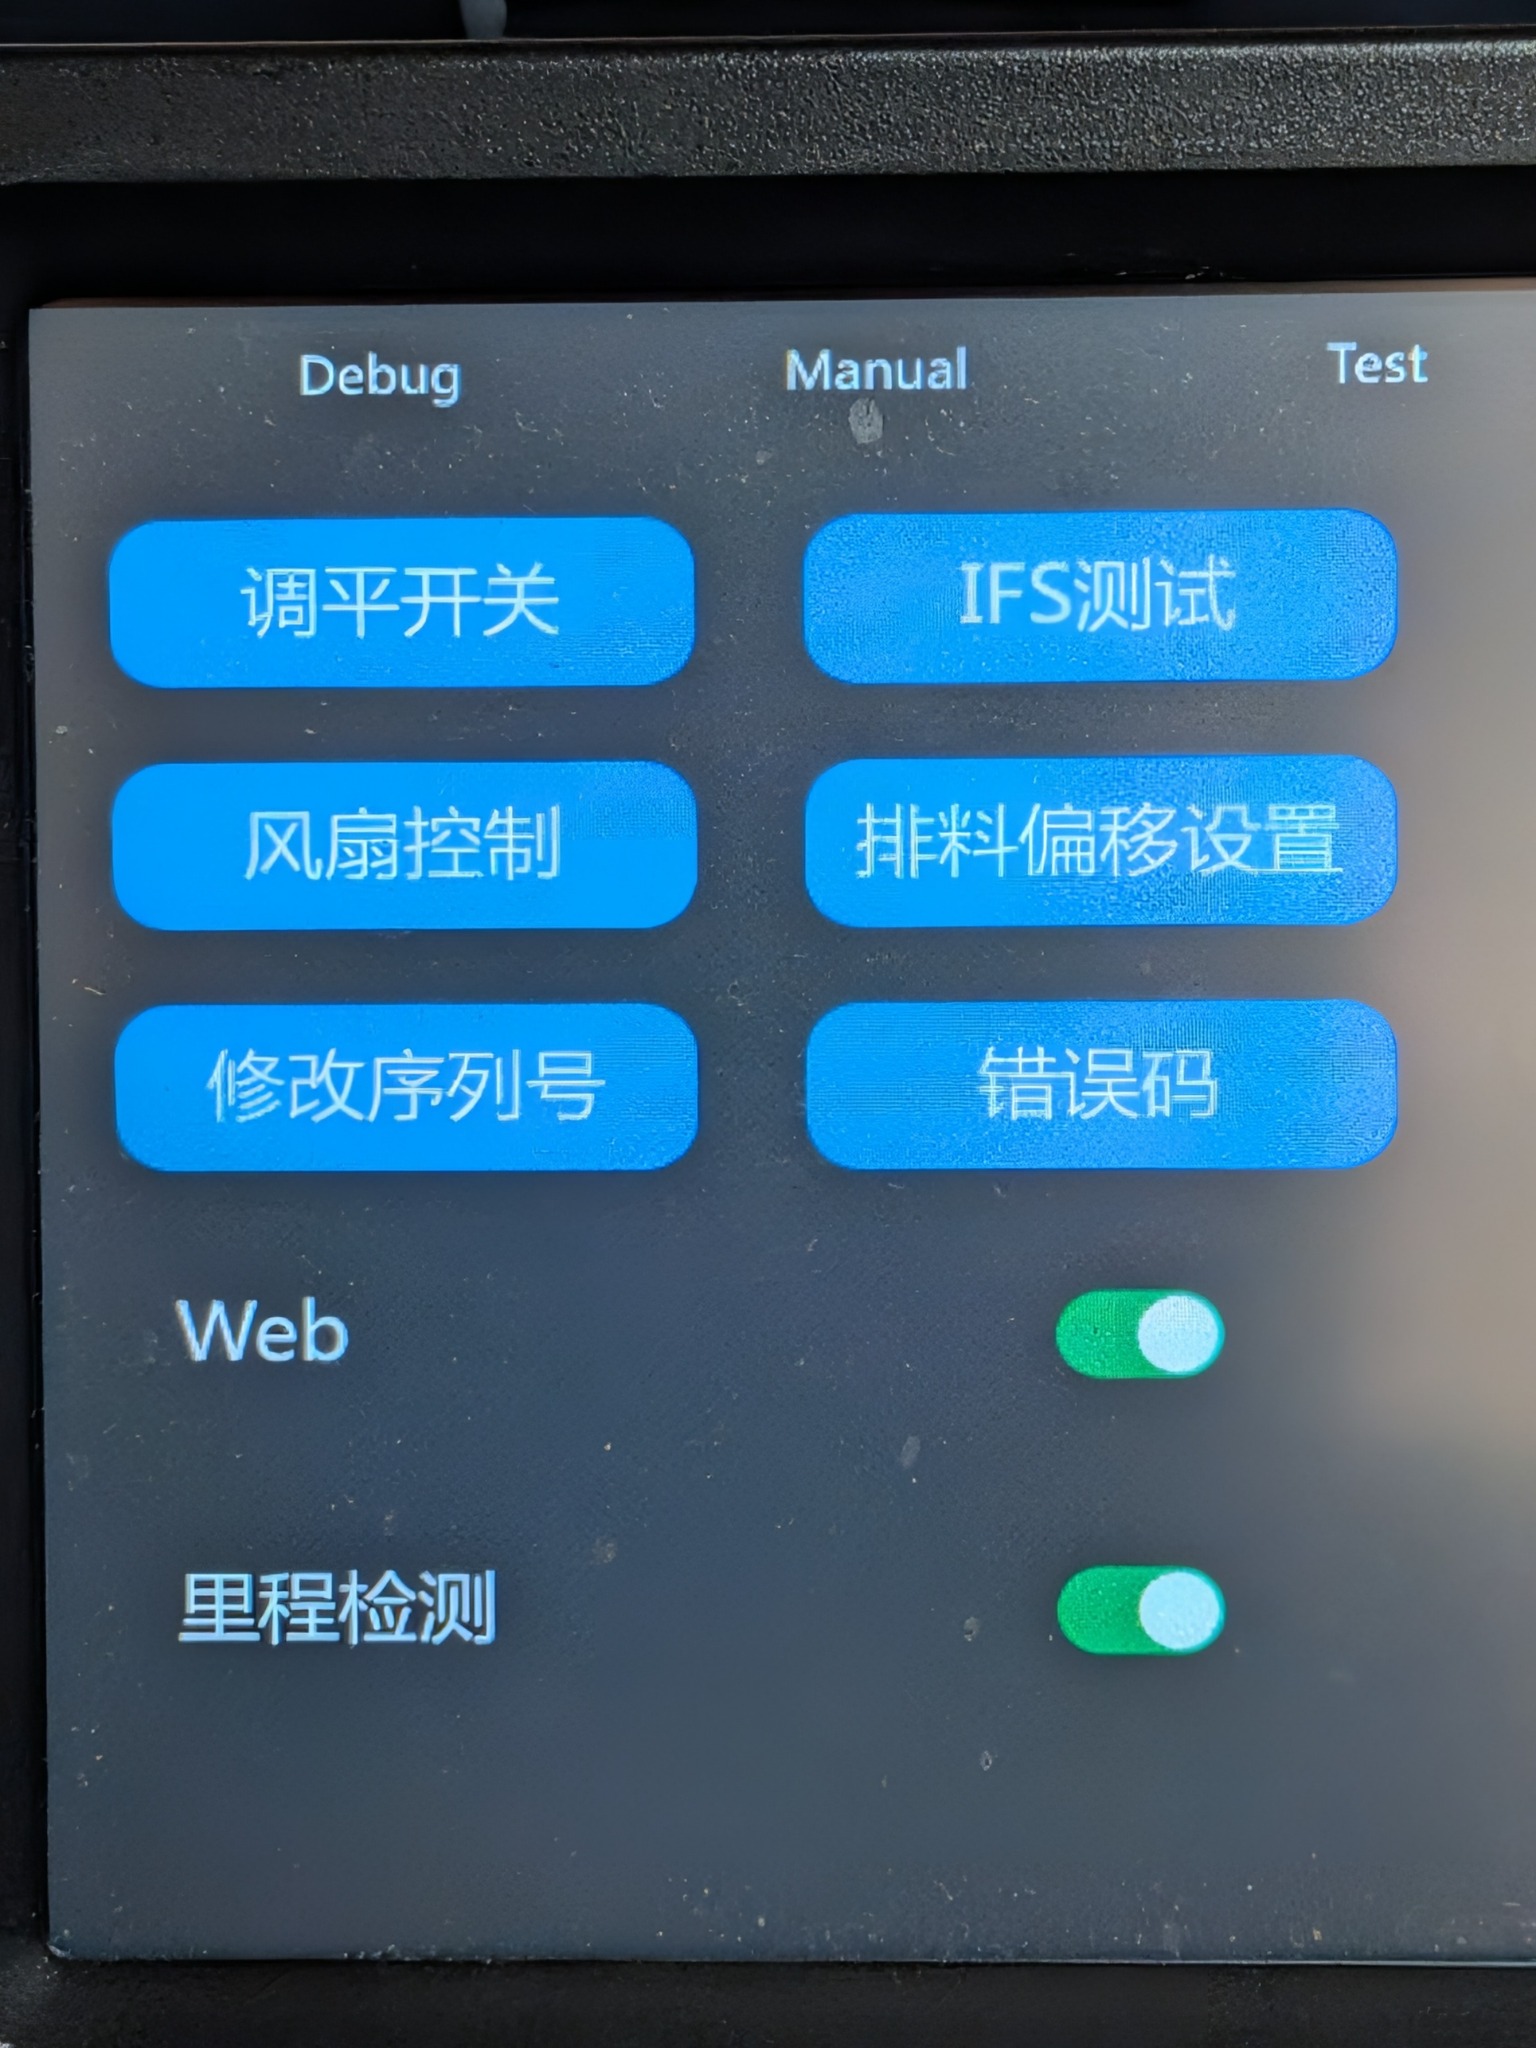
Please select the first top left button that says this "调平开关" this will take you to the proper calibration screen used in the video.
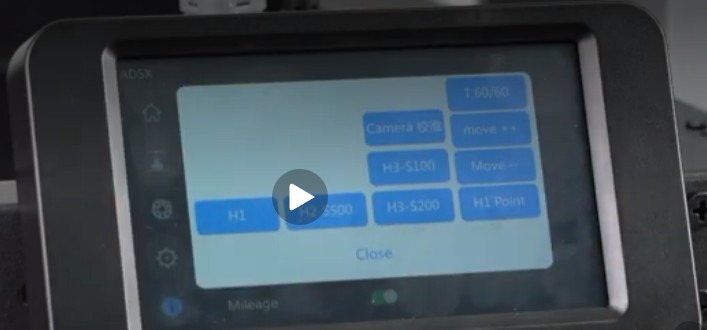
From here continue with the procedure in the video provided by the Flashforge wiki site.
IMPORTANT — RESTART REQUIRED: Once calibration is complete, restart the AD5X before continuing with the bed levelling procedure else it may hang and the nozzle and heated bed may remain continuously heated. Do not leave the printer unattended.