
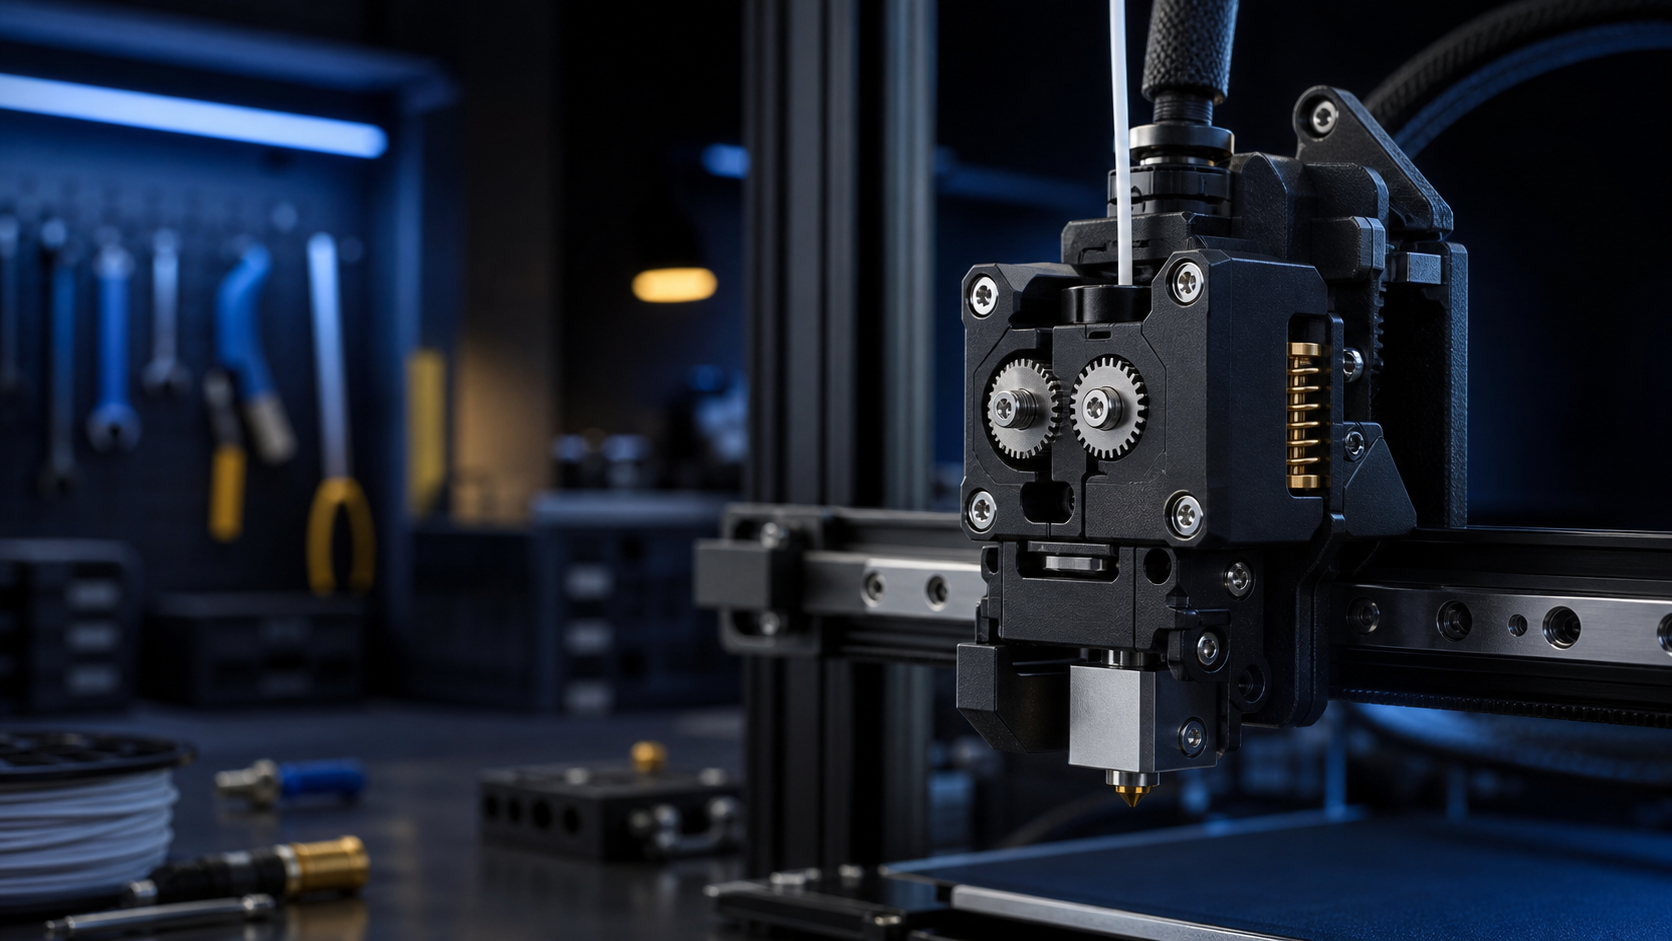
Start with the problem, not the parts list
A good extrusion upgrade should solve a defined limitation: inconsistent feeding, poor flexible-filament control, excessive toolhead mass, worn drive components or a conversion that needs a more dependable filament path. Replacing a working extruder without identifying the real fault can move the problem rather than cure it.
Before ordering hardware, record the printer model, toolhead arrangement, filament diameter, motor voltage, mounting pattern, available clearance and the firmware currently controlling extrusion. Check whether the proposed kit is intended for that exact printer revision.
Compatibility checks before fitting
- Mounting and clearance: confirm screw pattern, belt and carriage clearance, probe position, fan duct position and the full X and Z travel.
- Motor and gearing: establish whether the upgrade reuses the original motor or supplies a new one, and note the gear ratio required by the firmware.
- Filament path: the route from spool to drive gears and from the gears to the hotend should be straight, supported and free from sharp steps.
- Electrical compatibility: verify connector pin order and motor phase pairs rather than assuming that matching plugs have matching wiring.
- Toolhead mass: a heavier direct-drive assembly can require more conservative acceleration and input-shaping settings.
Firmware values must be recalibrated
An extrusion upgrade changes the mechanical relationship between the motor and the filament. Copying a value from a forum post is only a starting point. Set the manufacturer’s recommended baseline, command a measured extrusion at normal printing temperature, measure the actual movement and correct the extrusion calibration. Depending on the firmware this may be described as steps per millimetre or rotation distance.
Motor direction and current must also be checked. Too little current can cause skipping; too much can overheat the motor and nearby printed parts. Use the documented value for the supplied motor and confirm stable operation before increasing speed.
Commissioning sequence
- With power isolated, inspect every connector, fastener and cable route.
- Move the carriage slowly by hand and confirm that no cable, tube or fitting reaches its limit.
- Power the printer and verify motor direction at low speed.
- Heat the correct hotend, load filament and calibrate extrusion movement.
- Check idler engagement and filament tension without overtightening.
- Run a low-speed first-layer test, followed by controlled retraction and flow tests.
- Only then restore normal acceleration and speed in small steps.
Maintenance and warning signs
Filament dust around the drive gears, clicking, inconsistent extrusion marks or a groove worn into the filament all justify inspection. Remove debris with the printer isolated and follow the maintenance guide for the exact extruder model. Do not add lubricant to drive surfaces that must grip filament.
Bondtech publishes model-specific quick-start and maintenance documents. Use the document for the exact product rather than a visually similar model. The official LGX PRO maintenance guide is an example of the model-specific approach.
When a conversion needs workshop diagnosis
Stop if the motor or driver overheats, the toolhead collides, the connector pinout is uncertain, or extrusion remains inconsistent after mechanical and calibration checks. Uni3Dverse can assess the complete system and supply genuine manufacturer hardware where available, rather than treating the extruder in isolation.